| << Step 6: Moving an object | Step 8: Creating a text block >> |
| Top: Documentation Library | Up: Lesson 1: Creating a Letterhead |
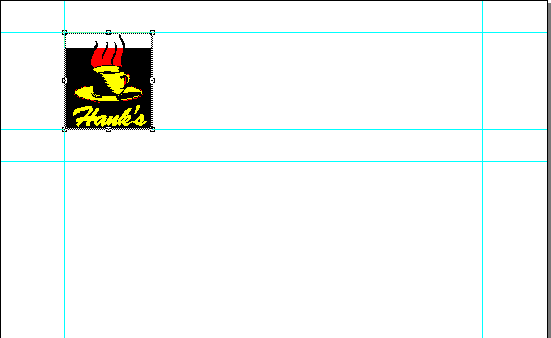
Step 7: Scaling an object
The logo needs to be scaled to a smaller size to fit on the letterhead. As with moving an object, scaling can be done quickly by showing the object's bounding box, or more slowly by showing the actual object outlines. Because this is a complex logo, you will want to start scaling the object without pausing.
Position the mouse pointer over the size handle at the bottom right corner of the drawing. Start dragging the size handle up and to the left. Without releasing the mouse button, hold down a Shift key. This will allow you to distort the picture's aspect ratio (the ratio of the horizontal to vertical size). Try releasing and reselecting the Shift key to see its effects. Imported graphics by default have maintain aspect ratio on for them.
Drag the size handle without the Shift held down until the width and height of the logo, as shown in the ''Edit palette'', are 2.358" (76mm) and 2" (51mm) respectively, and then release the mouse button. This will align the top and bottom of the logo with the horizontal guides you created earlier. Because you created guides for the logo earlier, it is easy to scale the logo to this size.


Now is a good time to save your work again. Choose ''Save'' from the ''File'' menu.
Step 7: Scaling an object Sub-Section url:PGSuser/lesson1#step7
created:2006-04-14 13:55:29 last updated:2019-12-19 16:53:57
Copyright © 1985-2026 GrasshopperLLC. All Rights Reserved.
| User Contributed Comments For Step 7: Scaling an object | sign in to add a comment |
| There are no user contributed comments for this page. | |
| << Step 6: Moving an object | Step 8: Creating a text block >> |
| Top: Documentation Library | Up: Lesson 1: Creating a Letterhead |